Before we get into this, let’s all just take a moment of silence for Padlet going to a paid subscription model.

The great thing about the internet, though, is that there are usually multiple tools for doing the same thing, and so the search begins for other ways to foster interaction. In a recent webinar, a colleague shared a tool with us that really caught my attention: Wakelet.
I hadn’t heard of Wakelet before, but I was immediately drawn to it as a way to organize links and information. Using Wakelet, you can store links, images, notes, etc. in a “Wake” or “Wakelet” or “Collection” or “Story” (consistent verbiage isn’t really their thing, apparently…). These collections are customizable and embeddable (using HTML code), so I thought that they would be fantastic for organizing supplemental resources for students in Blackboard in a way that was visually appealing and easy to navigate. I’ve done some work to that end, and I wanted to share an overview of this really useful tool!
Intro to Wakelet
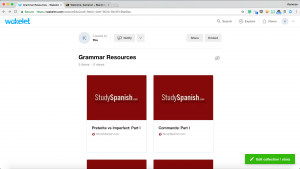
After you’ve registered for an account with Wakelet, your homepage looks like this:
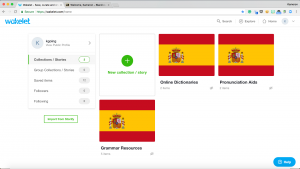
As you can see, I’ve already made a few collections for my Spanish classes. To create a collection, you’ll click on the green plus sign in the middle of the page labeled “New Collection/Story” which will take you here:
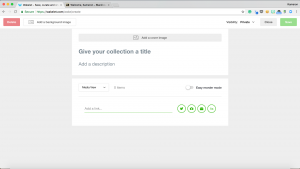
From this page, you can add background and cover images (they have a set of stock images you can choose from, or you can upload your own), as well as a title and description. You can change the visibility of your collection:
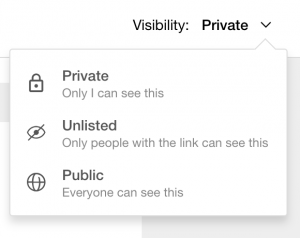
Only collections that are set to Public or Unlisted can be embedded.
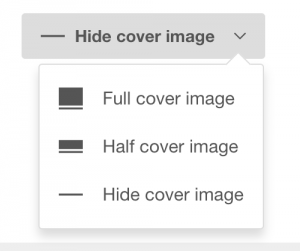
Once you add a cover image, you can adjust the size of it using this menu:
Adding Content
To add content to your collection you’ll use the widget in the middle of the page:

You can add links by simply copying and pasting into the left text box. Wakelet will automatically create a tile for your link along with a title and sometimes an image (if one is provided by the website). These can be edited later. You can also use the buttons on the right to (going from left to right) add a link from twitter, add an image, add content from your saved items (within Wakelet), and write something in a text box.
Once you’ve added some content, you can use this menu to choose how they are arranged within your collections:
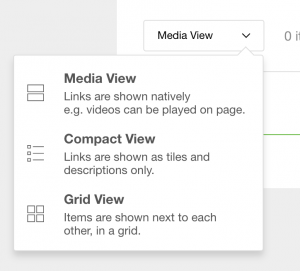
Both Media View and Compact View are stacked on top of each other, with Media View giving the additional ability for videos to play directly from your collection.

Grid view stacks link tiles in a 2xN grid (with N being the number of rows necessitated by the number of links you’ve added).
It’s important to note that the view you choose here doesn’t affect the view when the Wakelet is embedded, but the embedded configuration can be changed later.
Editing Content
To edit your link tiles, hover over the tile you wish to edit while still in editing mode:
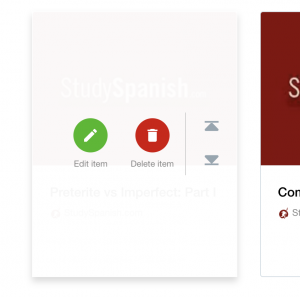
The red button deletes the tile. The gray arrows move the tile to the top of the collection or the bottom. You can also click and drag tiles to reorder them. To edit the image, title, and description of the tile, click the green button:
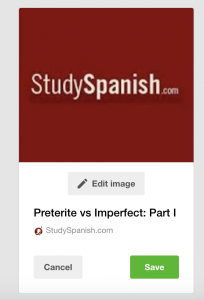
From here you can change the image and edit the Title and description. When you’re done, click Save.
When you’re done adding and editing content, be sure to click the green Save button in the upper right of the page. You can always edit a collection by clicking the green Edit button in the bottom right.
Sharing/Embedding your Wakelet
To share or embed your Wakelet, you must have the collection open, but not in editing mode:
The Share and Embed buttons are in gray in the upper right. The Share button opens a dialog box:

From here you can share your collection to social media or Google Classrooms, as well as copy a direct link.
The Embed button (for collections set as Unlisted or Public) also opens a dialog box:
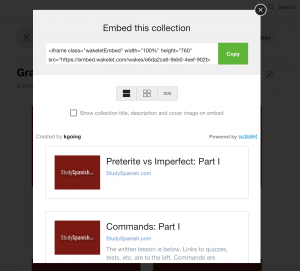
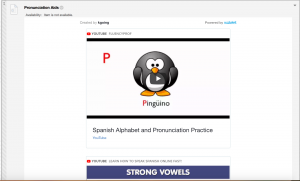
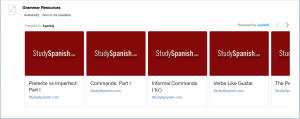
Before you copy the HTML code make sure you choose the layout you want using the toggle buttons below the code box. You can choose from three options: Media View (important if you want videos to play directly from the embedded collection), Grid View (the 2xN grid described earlier), or Horizontal Scroll View with sets link tiles side-by-side with arrows for scrolling. You can also choose whether or not to include the title, description and cover image with the embedded collection. I’ve chosen not to, as the Blackboard content items I’ve embedded them into already need titles and the cover image takes up a LOT of space.
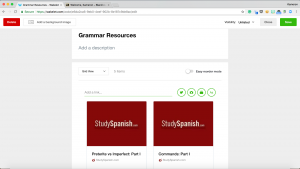
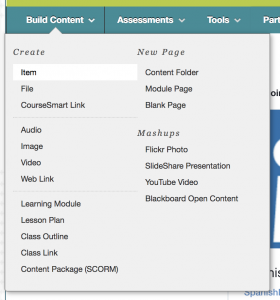
The way I’ve used Wakelet in Blackboard is I’ve embedded multiple collections on a new content page I’ve named “Resources.” To embed the collection, you first need to create an “item” on the page using the “Build Content” menu:
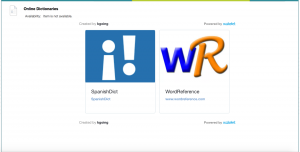
You can then paste the embed code into the item the same way you would to embed a Google Slide into an announcement, for example. For my page I’ve included three collections, one in each of the three layouts to best fit the types of links I’ve included:
I’m excited to use Wakelet in upcoming semesters to provide better access to supplemental resources for students. I’ve been very pleased with the user-friendliness and easiness of Wakelet and hope to use it in other ways in the future as well!